Peter Parker’s Knobless Wonder Minimalist SSB Rig

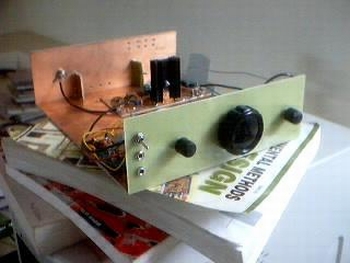
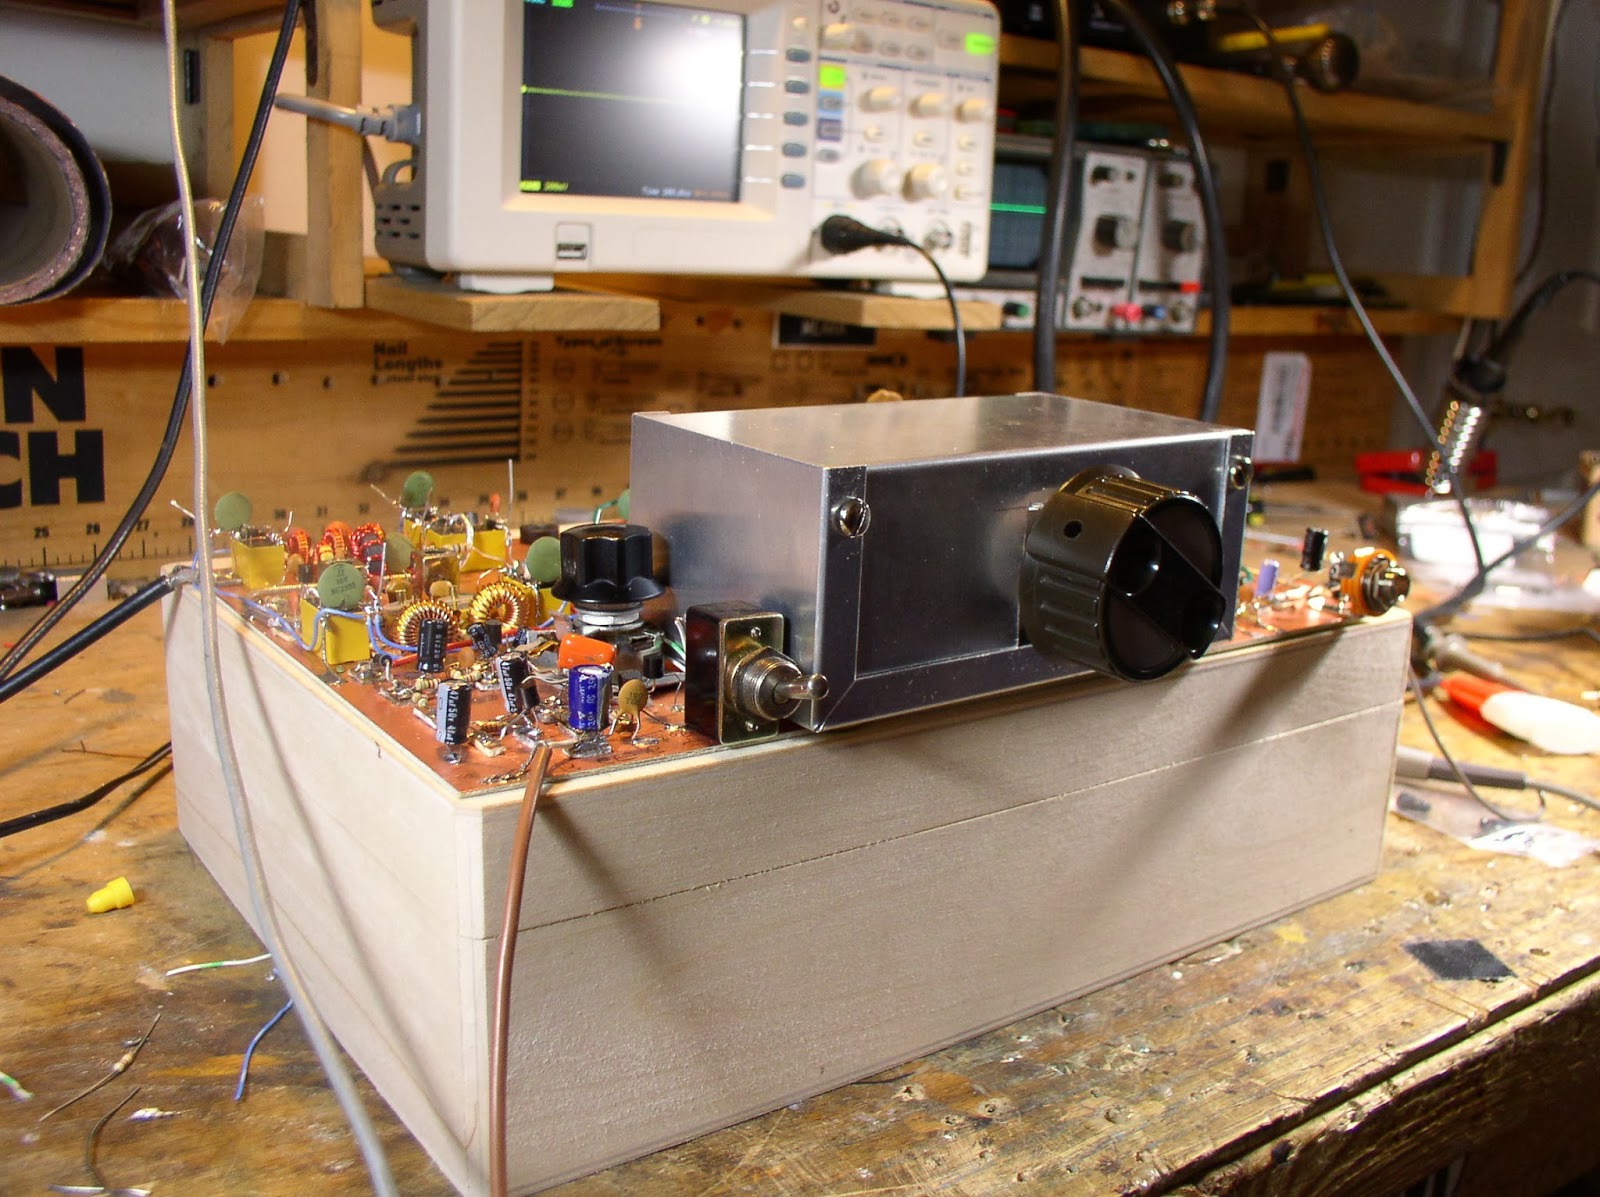
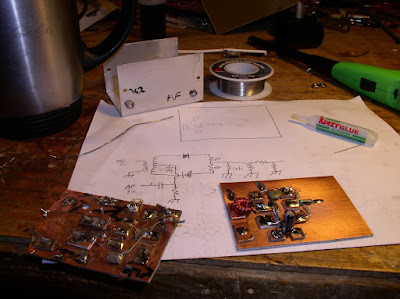
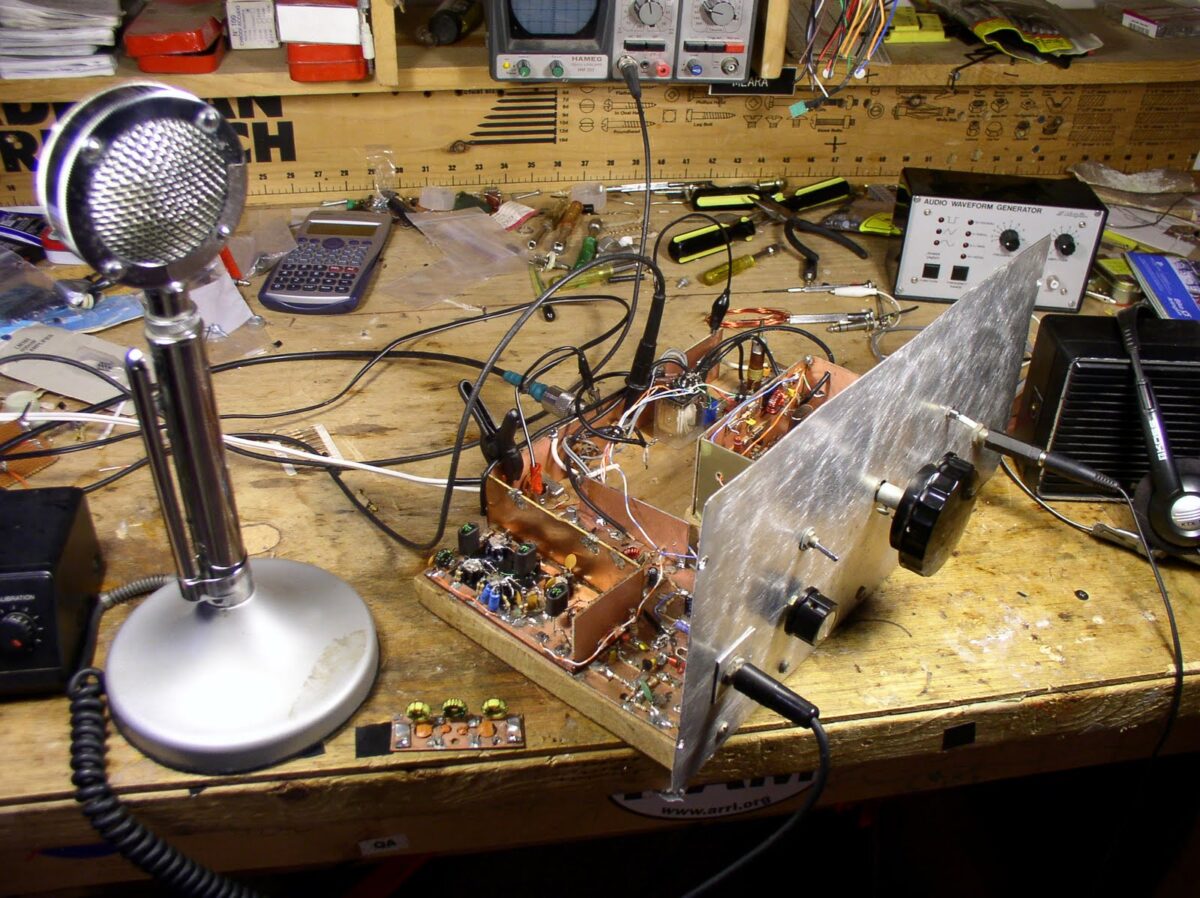
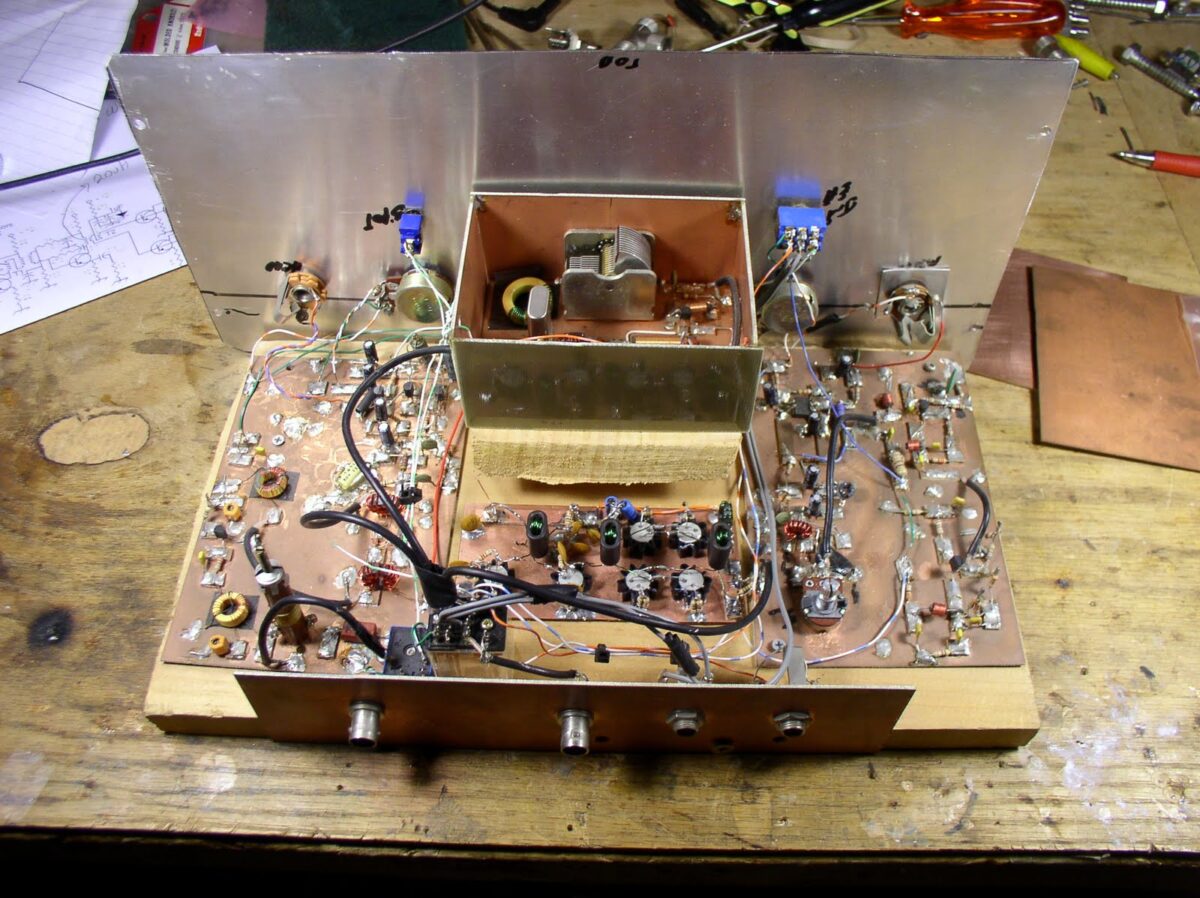
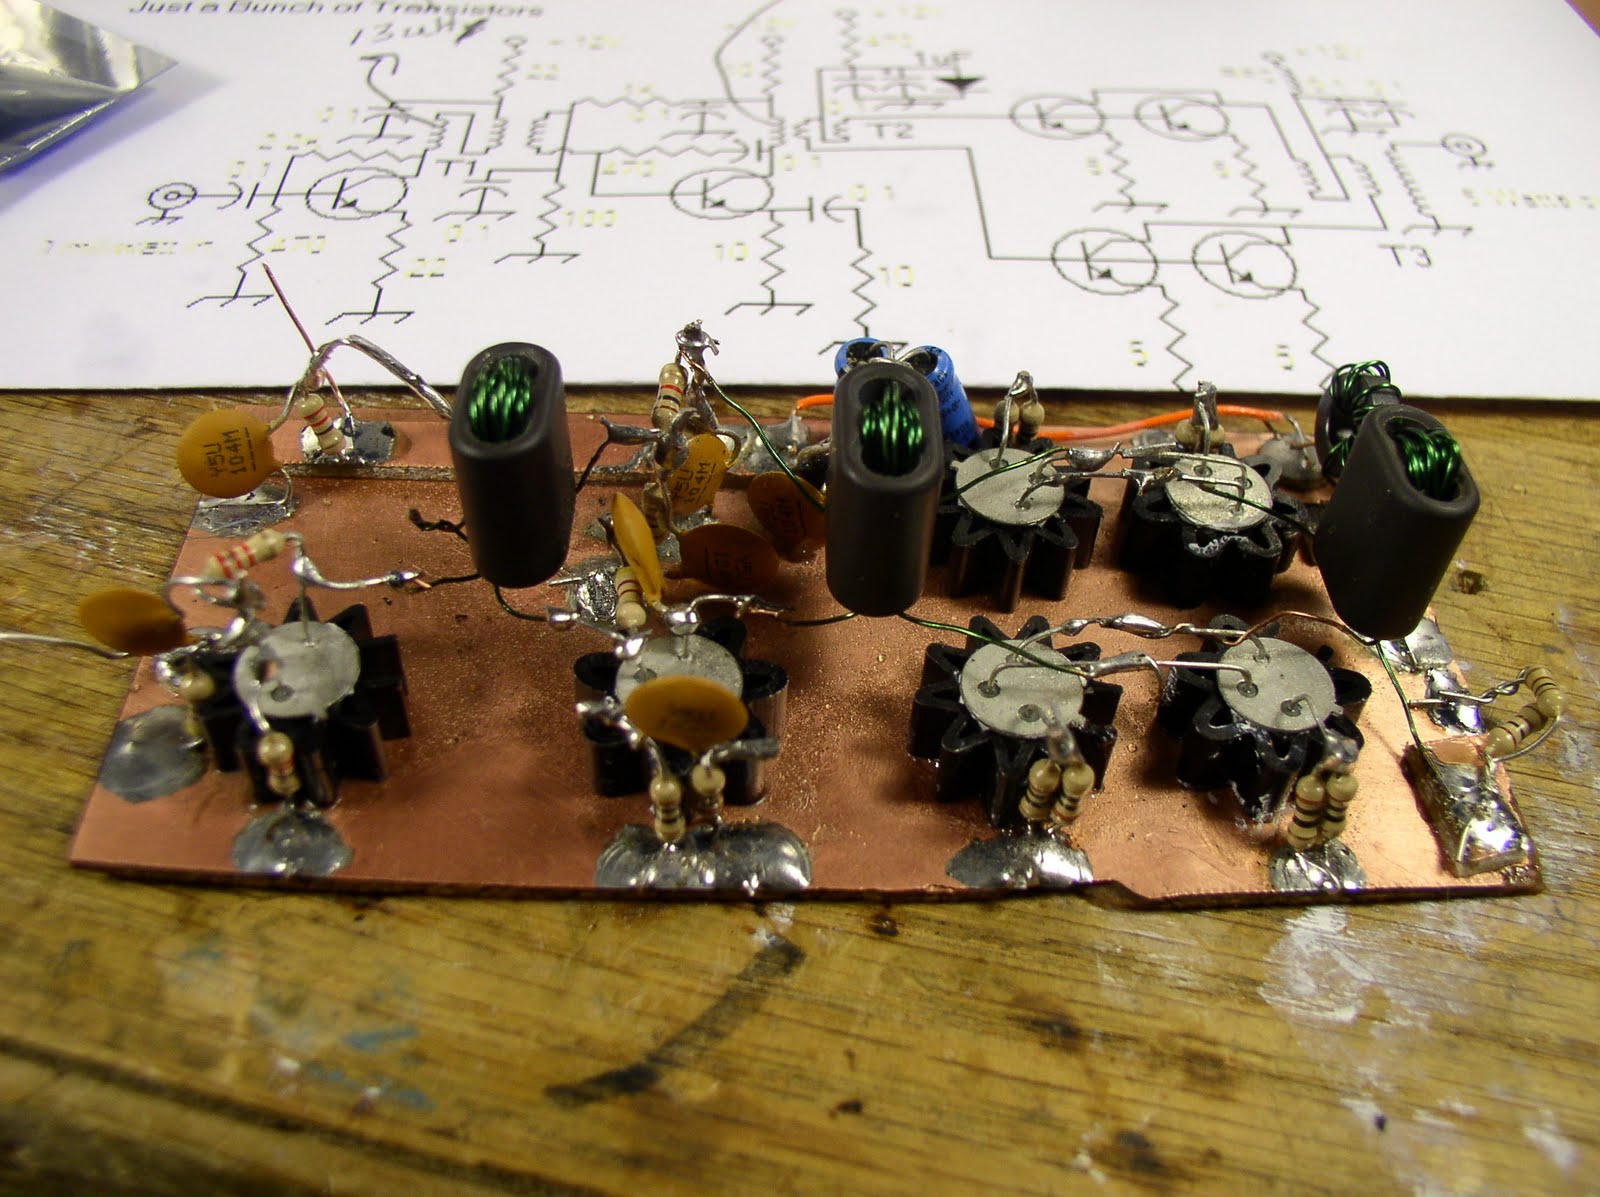
Oh man, Peter Parker has done it again! As he did with the Beach 40, he has come up with a circuit that will attract a lot of attention. It is a single frequency SSB transceiver with no knobs (or windows, or menus!)

Peter Marks recently had breakfast in Melbourne with VK3YE:
http://blog.marxy.org/2013/05/melbourne-meetup-with-homebrew-legend.html
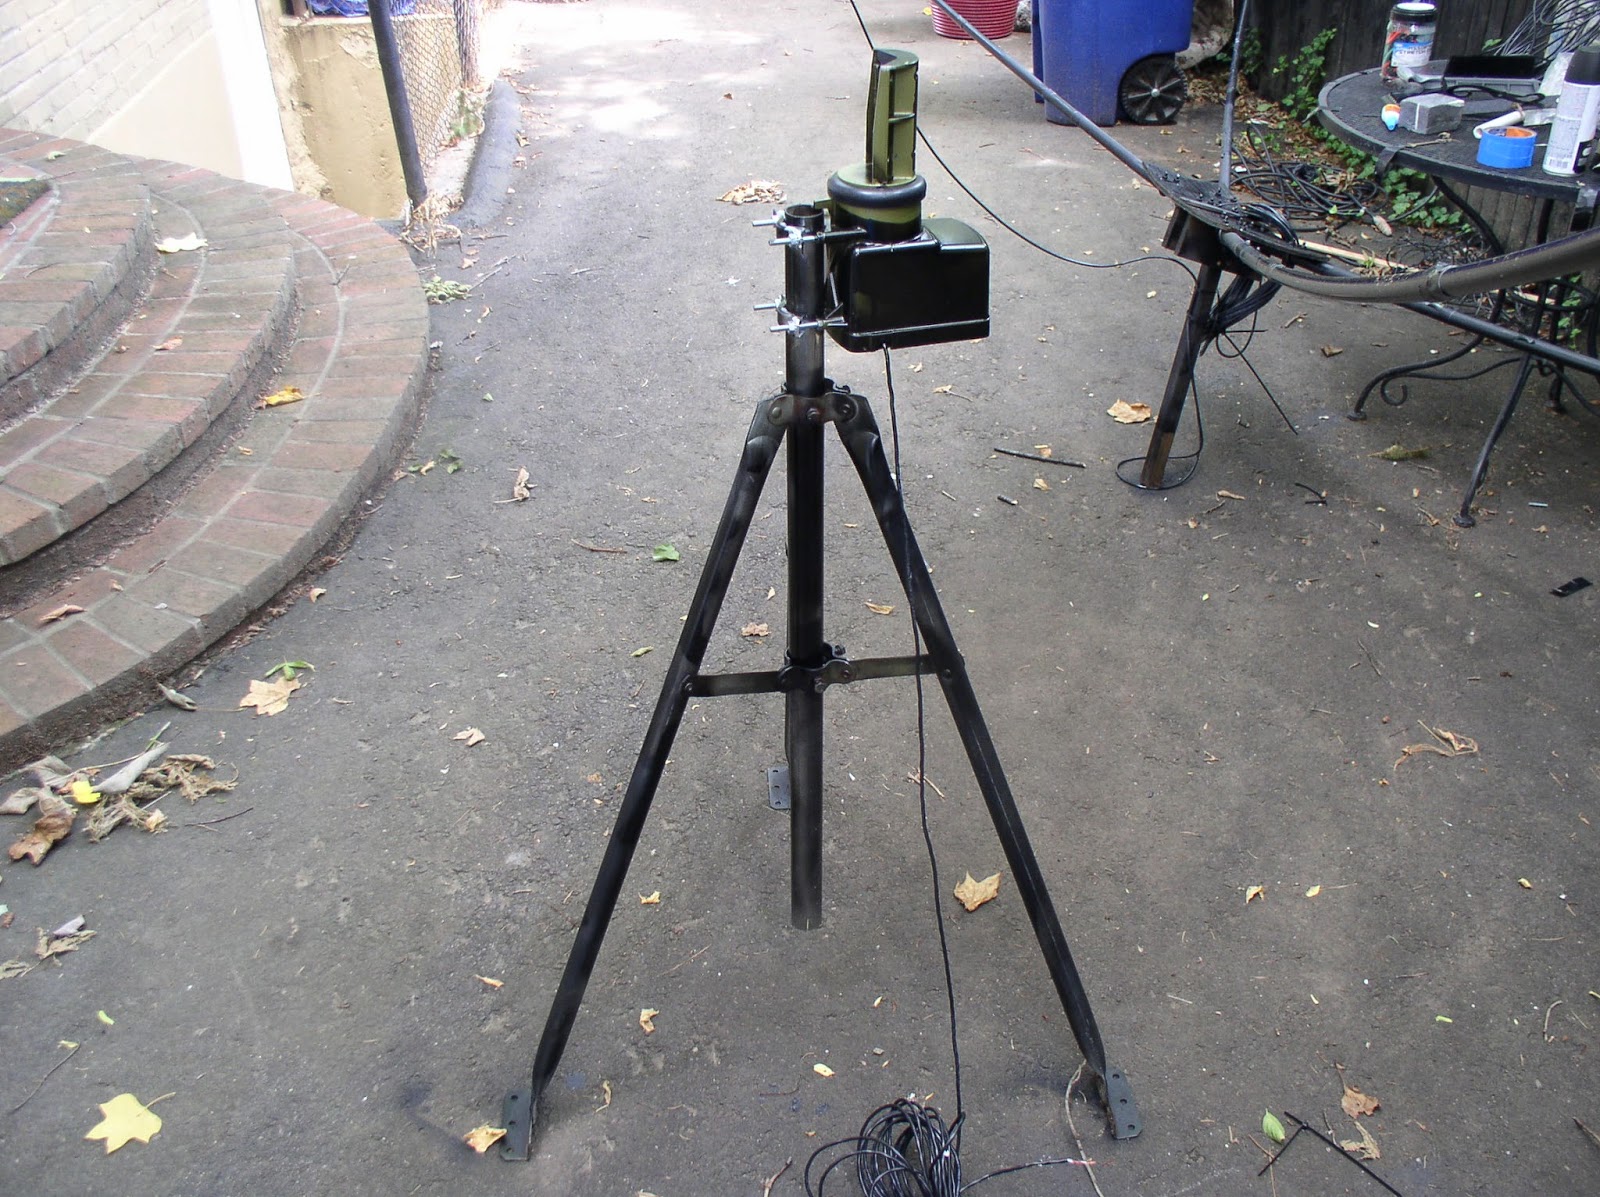
There are some great pictures of the new rig, and the Beach 40.

Here’s the message from VK3YE (to the Minimalist Radio Group) that may
someday be seen as the start of the Knobless Revolution:

Some might reckon that SSB is inevitably too complex to be in the minimalist
class, but I beg to disagree.

I reckon you could build a whole SSB transceiver in 2 days of solid work. I
took a day to build what will be described below up to the stage where it

was receiving & producing a low level SSB on Tx.

Take this recipe:

1. Build the back end of the BitX http://www.phonestack.com/farhan/bitx.html
That is everything to the right of (and including) the Q2 & Q12 stages.

2. Use cheaply available 7.159 MHz crystals in the crystal filter and
carrier oscillator. Keep filter capacitor values the same. Remove L3 in the
carrier oscillator circuit. Use a slightly bigger trimmer in the carrier
oscillator (say up to 50 pF) and wire in series with crystal. Align trimmer
so carrier freq is 7160 kHz.

3. Build a power amplifier stage / relay / LPF as per the Beach 40. Just
the last 2 stages (using BD139s) should be enough. Output maybe 2w.

The result is a 10 transistor / 1 IC SSB transceiver on 7160 kHz. It’s
crystal controlled but at least during the day 2 watts to a good antenna
should be enough for people to hear and reply to your CQ calls up to 800 –
1000 km away. Of course you could go a bit more minimalist and remove the
LM386, substituting 1 transistor instead (as per the original Beach 40)
which is what I did.

The main thing that’s odd is it has no knobs – no tuning, RIT, volume, RF
gain etc. Just sockets – for mic, phones, antenna and power to feed it what
it needs (Rx RF, Tx audio, DC power) and give what you want (Rx audio and Tx
RF).

It is philosophically different to using any other transceiver. You either
accept what the radio dishes up (frequency, AF gain, mic gain etc) or you
don’t. On or off – there is no other state. Take it or leave it. Like a
cat this is a radio that lives on its own terms.

Those used to fiddling with adjustments will find the ‘knobless wonder’
transceiver causes them to be at a loose end. Those so afflicted will smoke
more, bite their nails more or eat junk food more. Sometimes elegant
simplicity in radio can be a health hazard – maybe knobless rigs should
carry health warnings.

On the other hand, and in my view this outweighs the above, there is the
aesthetic satisfaction that comes from using a rig that cannot be made any
simpler. Especially if it’s a mode, like SSB, that’s widely thought
constructionally complex. Plus it takes little in return – the power
consumption will be a fraction of what a commercial rig will demand.

73, Peter VK3YE
Our book: “SolderSmoke — Global Adventures in Wireless Electronics” http://soldersmoke.com/book.htm Our coffee mugs, T-Shirts, bumper stickers: http://www.cafepress.com/SolderSmoke Our Book Store: http://astore.amazon.com/contracross-20

How to Get Ready to Build a BITX-20

Continuing with our workshop inspiration theme, I spotted this in the BITX-20 mailing list this morning. The response is from Farhan:

blake,

i would suggest a different route. a long and winding one, that will
finally lead to a bitx.

the idea is to learn. you do this by understanding what you build and
building what you understand. by ‘understand’, i specifically mean, being
able to measure. here is what i suggest, buy yourself a bunch of 2N3904s
from the local radio shack and some resistors and caps. then build this :

http://www.phonestack.com/farhan/testosc.gif

this is an oscillator. if you plug a coil between the open ends, it will
become a vfo, if u plug a crystal, it becomes a crystal oscillator. you can
use your frequency oscillator to check the frequency it is oscillating at,
etc.

with this, you would have mastered the first of the three blocks that make
up almost every radio circuit. but next, you must make another test
instrument. a power meter. most of us ham start out with a simple RF probe.
while that was fine and dandy for its day, now we can do much much better.
we can make a very accurate power meter that enable you to measure things
as finely as anybody in this business. W7ZOI has designed a super simple
power meter. it is available as a kit.
read about the power meter here :
http://www.kangaus.com/Documentation%20files/Power%20Meter%20Documentation%20May%202011.pdf
you can purchase the kit at www.kangaus.com
(I have no business interest with kanga or any other kit manufacturer)

with the power meter in place, you can now measure the power levels coming
out of any circuit with great accuracy.

now, you can build a single stage feedback amplifer (there are six of them
used in the bitx) on a copper clad board. using the test oscillator as an
input, you can measure how much gain the amplifer has (measure the
oscillator output, then connect the oscillator to the amp and ,measure the
amp output. the, amp output – oscillator output = amp gain).

of course, while building both these blocks, you will discover what
voltages to expect at which junction of components in both these blocks.

next, you can build a step attenuator. which is a really simple thing and
of immense value in the home lab. here is a design
http://www.arrl.org/files/file/Technology/tis/info/pdf/9506033.pdf
or you can now buy it in a kit form from
http://www.qrpkits.com/attenuator.html

finally, you can build a simple signal generator like this :
http://www.phonestack.com/farhan/siggen.html . this will allow you change
frequencies and measure what a circuit does at different frequencies. you
can use this to test how the filters are doing and get them to ‘spot’ where
you want them to.

so, there it is, a signal generator, a power meter, step attenuator, test
oscillator. four, very simple test instruments that you can build
yourself. they will give you one helluva education in radio. and within
weeks, you will understand and start building on your own!!

– farhan


> Quoting bfabman :
>
> Hello Everyone, I have been watching the group for a few months now
> with interest. I have no electronic experience to speak of, but I have
> a burning desire to make one of these, and I am wondering what all of
> you think of someone like myself building one as my first real radio
> project, to be used for qrp mountain topping. I don’t have any
> electronic test equipment for the final alignment, other than a
> standard DIG vom meter. (I am willing to buy some equipment if
> necessary) I think that this would be an awesome winter project just
> don’t know if it would be over my head. If I got it all built, could I
> actually get it aligned and working properly. I did make a Norcal
> frequency counter project last year and it turned out very well. Thanks
> for your opinions before I spend the money. Blake
>
> Paul Daulton K5WMS
> beacon WMS 185.302 khz qrss30/slow 24/7
> Jacksonville,Ar 72076
> em34wu

Our book: “SolderSmoke — Global Adventures in Wireless Electronics” http://soldersmoke.com/book.htm Our coffee mugs, T-Shirts, bumper stickers: http://www.cafepress.com/SolderSmoke Our Book Store: http://astore.amazon.com/contracross-20

JBOT Thoughts

Posted today to the BITX-20 Group:

Good to see so many JBOTs under construction. I recently built two of them. Farhan has asked me to share with the group my experiences using -43 core toroids. Ironically, TV cores are a bit harder to find here, so I had to go with the fancier toroids!

In my first amp (used in a 17 meter DSB rig) I used the smaller FT-37-43 cores in all three transformers. T1 and T2 were wound and placed in the same way that Farhan did with the TV cores. For T3 I used superglue to stack 4 of the cores 2×2, then wrapped them with a bit of electrical tape. I wound T3 so the input wires were on one side and the output on the other. (On this amp, I had started out using some large binocular cores from the junk box, but I had a tough time getting the amp stable with these cores, possibly because using them resulted in longer lead lengths. So I went back to the smaller FT-37-43 cores).

In the second amp (used in a 17 meter SINGLE Sideband rig) I used FT-50-43 cores for T1 and T2. The bigger gores were a little easier to work with. I glued them vertically to the copper clad board. For T3, I again went with 4 FT-37-43 cores. (I tried using 4 FT-50-43 cores for T-3, but I found that output was low, so I went back to the smaller cores for T3). Note that on the second amp, I put some insulation between the heatsinks and the copper clad board (gorilla tape) — I was worried about possible short to ground if the anodized layer on the heatsinks got breached.

In building my amps, I used the photo on Farhan’s Phonestack page as my guide.

As is always the case with amps that I build, I found that a certain amount of “taming of the beast” had to take place before I got the devices stable. This is certainly the result of the kind of homebrew devices into which they are being inserted! Following advice from Doug DeMaw, I made liberal use of ferrite beads. I put one on the lead carrying 12 volts to the amp board. I put another on the lead from the 12 volt line to the final’s RF choke. And I put one on the line carrying the .6 volt bias to the secondary center tap of T2.

I put a bit of shielding (copper-clad board) between the low pass filter and T3.

These steps allowed these amps to work nicely with my contraptions.

As long as we are talking about JBOTS, I have a question for the group:

On my second amp, I noticed that the output was a bit lower than it should have been — only about 1.5 watts. I did a lot of troubleshooting, then I finally checked the bias currents in the first two stages. I found that BOTH were running at about 50 ma.

I looked at Farhan’s JBOT notes and found that the second stage is supposed to be running at 100 ma. I found that the base bias voltage on the second stage was 1.13 volts, while the first stage had 1.9 volts on the base. That didn’t seem right.

I then turned to the bias.exe program that comes with EMRFD. I plugged in the values from the JBOT schematic and, sure enough, the predicted collector bias current was 50 ma, not the 100ma the design was looking for.

Using that program, I made some changes to the base resistor in the second stage. I found that with 150 ohms instead of 100 ohms, the collector bias current goes up to the desired 100 ohms. This also seemed to bring power output up to the desired range of 3-4 watts (output should be a bit lower at 18 MHz, right?)

More info (and pictures) on my JBOT adventures can be found here:
http://soldersmoke.blogspot.com/search/label/JBOT

GOOD LUCK WITH YOUR JBOTS!

73 Bill N2CQR
http://soldersmoke.blogspot.com

Our book: “SolderSmoke — Global Adventures in Wireless Electronics”http://soldersmoke.com/book.htmOur coffee mugs, T-Shirts, bumper stickers: http://www.cafepress.com/SolderSmokeOur Book Store: http://astore.amazon.com/contracross-20

Hard Core! Wisdom and Ideas on Toroids

Gerard ZS5AAC

This morning the BITX20 mailing list has an interesting discussion of toroidal cores. I especially like Gerard’s use of the cores from old CFL bulbs. Farhan wraps it up with a great explanation of why we use ferrite cores in broadband transformers:
——————————
Over the years I built quite a few BITX’s. In the beginning I used the
toroids salvaged from CFL lamps. These worked quite well for the mixer
coils. For the filter coils I used 6mm bakelite slug tuned coils that were
stripped from old PYE radios. Wonder if anybody else experimented
along the same lines. I build my BITX’s Manhattan style and they work from the start with few minor tunings. Happy BITX’ing, Gerard, ZS5AAC.
—————————————
Bob
The purists may attack us on this, but what you propose is very
possible. I have been using a wooden-core toroid for several years as part of an antenna tuner.

http://qrp.webhop.net/Pictures/Webcam-1293651325.jpeg

http://qrp.webhop.net/Pictures/Webcam-1295140555.jpeg

I’m also using small plastic and wooden beads as toroid cores for
several other projects. Half inch long sections cut from thick-wall (schedule-40 or schedule-80) PVC pipe also makes good toroidal forms. Beauty of using non-metallic cores is that the core can be split to allow winding wire through the slot without having to thread it through the hole.

http://qrp.webhop.net/Pictures/Webcam-1289957121.jpeg = 1.4 uh

Bending an inductor back on itself in toroidal form concentrates the
magnetic field in the center, whether the core is metallic or non-metallic. This gives you similar self-shielding properties when using either type core material.

With non-metallic cores you no longer have to worry about core saturation, so running high current finals is not a problem.

Key to doing this is being able to measure inductance of 5 turns, 10 turns,
and 20 turns, so you can calculate and plot the effective AL of your wooden core toroids. Once you know this value you can make up a chart to tell how many turns are required for a specific inductance.

Twisting wires together to make a transmission-line for bifilar or
trifilar windings is interesting because the impedance of that transmission line might affect performance of your transformer. It may require a bit of experimentation with an SWR bridge to tell when you have the best balance between twist pitch, wire diameter, and insulation thickness.
Arv – K7HKL
———————————————

Robert, Arv,
There are two types of coils used in the bitx – the broadband
transformers and the RF coils in the bandpass filter and oscillators.
You could easily substitute the rf and vfo/bfo coils with just about
any kind of coil – as long as you are hitting the same inductance and
Q. But there is a catch : a few years ago, I finally got down to
measuring the Q of the nylon tap washers that I had originally used.
The q was quite modest at 70. Wes made independent measurements with similar results (his paper is on www.w7zoi.net under technical stuff). In short, for good performance use good old air coils wound on a
cylindrical formers if you don’t use toroids.

About the broadband transformers. These need a material that has very
low loss, very high permeability. The reasoning is like this :
1. We need an transformer’s inductance such that the reactance is
at least 200 ohms at the lowest frequency. This puts the inductance at
around 30uH at 4MHz.
2. If we achieve 30uH through lots of turns (say 100), each turn will
exhibit capacitance with it’s neighbor and the large number of turns
will add up the capacitance so that the coil will provide enough
self-capacitance to resonate at an unintended frequency in HF leading
to pretty bad mixer performance.
3. The only way out would be to achieve the required reactance with
lower number of turns. This means using ferrites.
– farhan VU2ESE

Our book: “SolderSmoke — Global Adventures in Wireless Electronics”http://soldersmoke.com/book.htmOur coffee mugs, T-Shirts, bumper stickers: http://www.cafepress.com/SolderSmokeOur Book Store: http://astore.amazon.com/contracross-20

Homebrew Hero: Ashhar Farhan, VU2ESE


I wanted to start off 2012 with something inspirational, and here it is: Ashhar Farhan’s work bench. I was visiting his site yesterday and found lots of good info, good humor and, indeed, inspiration. Be sure to check out his RF generator project. And the page that gives his thought on tools and test gear. All of it is wonderful — you’ll find lots of evidence of Farhan’s long-term case of The Knack, his efforts to put “soul into his new machines” (his kids are mentioned frequently in his descriptions of his projects), and his obvious qualification for membership in the International Brotherhood of Electronic Wizards. I really like Farhan’s efforts to design rigs that can be built with parts available all around the world — a JBOT amp of his design is percolating nicely in my 17 meter DSB rig, and has been crossing the Atlantic almost every day.

As we were throwing a football around yesterday, I told Billy about Farhan. I mentioned that he lives in Hyderabad — Billy thinks that’s one of coolest city names on the planet and plans to work it into the plot of a novel he is working on.

Here is the site: http://www.phonestack.com/farhan/

Three cheers for Farhan! Happy New Year to all!

Our book: “SolderSmoke — Global Adventures in Wireless Electronics”http://soldersmoke.com/book.htmOur coffee mugs, T-Shirts, bumper stickers: http://www.cafepress.com/SolderSmokeOur Book Store: http://astore.amazon.com/contracross-20

A Re-balanced Modulator for my Re-cycled Rig


My effort to bring my Azorean 17 meter DSB rig back to life continues. This is proving to be harder than I thought. I’m still taming my version the JBOT amp. It still seems to break into oscillation — I think the oscillation freq is around 1 MHz. But I am making progress.

I had to go back and work on the balance modulator circuit. I really like the simple two diode singly balanced mixer circuit. But my original Azorean board had, like the oscillator board, been through a few too many rounds of modification and repair. I decided to start over. See above. I even came up with my own little innovation on this circuit. Doug DeMaw’s original design called for a 100 ohm pot at the junction of the two diodes, with the signal coming off the tap. You adjust the pot to balance the circuit and null out the carrier. But I didn’t have a 100 ohm pot. Lots of 1K controls were available, so I put in two 50 ohm resistors in place of the pot, then put the 1k pot between the diodes, with the tap to ground. This balances things out nicely. See below.

I hope to get a podcast out next week, but I’ve been suffering from a nasty headcold that would have introduced all kinds of weird audio effects.

Our book: “SolderSmoke — Global Adventures in Wireless Electronics”http://soldersmoke.com/book.htmOur coffee mugs, T-Shirts, bumper stickers: http://www.cafepress.com/SolderSmokeOur Book Store: http://astore.amazon.com/contracross-20

Amplifier Woes — Help me! Help me!

When I look in the mirror and I see a haunted, obsessed look in my eyes. My wife senses that there is something wrong in the ham shack. She is right. I have an amplifier that wants to be an oscillator. Help me exorcise these gremlins! Guys, this problem is holding up the production of the next SolderSmoke podcast.

My JBOT amp works fine into a dummy load, but when I connect it to an antenna, it gets unstable. Here are some more details of the symptoms:

I am running the JBOT with a 5 element (two toroids, 3 caps) low pass filter (designed by Doug DeMaw and approved by Steve Smith).

With the antenna connected, all is well UNTIL I raise the power out (by varying the input) beyond about 1 watt. Below one watt, the amp is working fine, and it stable. As soon as I hit the 1 watt point, the amplifier seems to break into oscillation. This does not happen into the dummy load.

The antenna is a simple dipole fed by coax. It shows a low SWR. Even when I put an antenna tuner between the amp and the antenna and bring the SWR down to negligible levels, the instability problem persists.

With the amp disconnected from all other circuitry other than the antenna and the power supply, if I just touch the input capacitor, it breaks into oscillation. This does not happen when the amp is working into the dummy load.

I’ve bolstered the power supply filtering and decoupling. No luck. I tried some de-Qing of the transformers. No luck.

Any suggestions?

Our book: “SolderSmoke — Global Adventures in Wireless Electronics”http://soldersmoke.com/book.htmOur coffee mugs, T-Shirts, bumper stickers: http://www.cafepress.com/SolderSmokeOur Book Store: http://astore.amazon.com/contracross-20

JBOT Amplifier Installed in Azorean DSB Rig

I‘ve been remiss in posting to the blog, but I have a good excuse: I’ve been melting solder. I have working on the installation of my new Farhan-designed JBOT amplifier in my old Azorean DSB transceiver. I’m really enjoying this project, and I now see it as the first in a series. My shack has a number of creations that were built during the peak years of the last solar cycle, but have since fallen into disuse. Many of them were partially cannibalized — usually it was the RF amplifier that was taken out. The JBOT was just what I needed. I plan to refurbish all of these rigs, adding a bit of India to each one of them. This is very much in keeping with our “International Brotherhood of Electronic Wizards” ethos.

The installation went fairly well, but with all of the ups and downs that accompany this kind of project. The amp worked fine on the bench, fed with a signal generator and into a dummy load. But of course, life got more complicated when I installed it in the rig. Yes, it took off on me. This was no fault of the amplifier — I just needed to add some additional shielding. It is working fine now. See above. I moved it out of center stage and put it off in the corner to avoid feedback problems. More discussion of this in the next podcast (maybe this weekend).

Our book: “SolderSmoke — Global Adventures in Wireless Electronics”http://soldersmoke.com/book.htmOur coffee mugs, T-Shirts, bumper stickers: http://www.cafepress.com/SolderSmokeOur Book Store: http://astore.amazon.com/contracross-20

Pumpkin Pi and JBOT Gremlins

Maria wanted to go with a mathematical theme for this year’s Jack-0-Lantern. Pumpkin Pi!

I have been chasing some gremlins and banshees around my old Azores 17 meter DSB rig. The JBOT Amp worked fine into a dummy load, but of course things got a bit more complicated when I put it into the rig and connected it to an antenna. It would take off (like a banshee!) if the load was at all reactive. I think this is the result of inadequate shielding and inputs a bit too close to outputs. But it all settles down nicely when I put a transmatch in the antenna line and tune out the reactance. I may just leave it this way.

Output is a bit low — only about 1 Watt. I realize that at 18 MHz output should be dropping a bit, but I think I should be getting more. I THINK I’m giving it the recommended 1 milliwatt input. At some point I think Farhan mentioned the possible need to experiment with the number of turns on the secondary of the output transformer….

Our book: “SolderSmoke — Global Adventures in Wireless Electronics”http://soldersmoke.com/book.htmOur coffee mugs, T-Shirts, bumper stickers: http://www.cafepress.com/SolderSmokeOur Book Store: http://astore.amazon.com/contracross-20

My JBOT 5 Watt Linear (Farhan’s Design)

There it is — my version of Farhan’s JBOT 5 watt linear amplifier. JBOT stands for “Just a Bunch of Transistors.” But I think Farhan is being modest. I really like the design, especially the effort to make this something that hams around the world can reproduce from readily available parts. For example, Farhan’s original version used TV balun cores for the transformers. I didn’t have any of those around, but I found three “mystery spec” binocular cores in my junk box. They seem to be working just fine. (I tested them a bit: Farhan had written that FT 37-43 cores would work. T1 has seven turns trifilar. Seven turns on my mystery cores yielded 13uH. On an FT 37-43 core 7 turns yields around 20 uH. Close enough — these are, after all, broadband transformers.)

Note how closely my build follows Farhan’s schematic (which you can see in the background). When building this circuit, I just kept Farhan’s web page on my computer screen, and scrolled up and down from his schematic to the photo of his version.

This is the first linear amplifier that worked the first time I powered it up. It didn’t release any smoke, or leave transistor burn tattoos on fingers, or try to be a 14MHz oscillator.

This version is going into my Azores-built 17 meter DSB transceiver. See how nice it fits:
Our book: “SolderSmoke — Global Adventures in Wireless Electronics”http://soldersmoke.com/book.htmOur coffee mugs, T-Shirts, bumper stickers: http://www.cafepress.com/SolderSmokeOur Book Store: http://astore.amazon.com/contracross-20

My JBOT passes the Smoke Test

Over the weekend I built my first version of Farhan’s JBOT. I really enjoyed building it. I soldered in the last connections this morning and I am happy to report that it passed the smoke test. More info (and a picture) tomorrow. Thanks Farhan!

Our book: “SolderSmoke — Global Adventures in Wireless Electronics”http://soldersmoke.com/book.htmOur coffee mugs, T-Shirts, bumper stickers: http://www.cafepress.com/SolderSmokeOur Book Store: http://astore.amazon.com/contracross-20

FB QRP Homebrew From India

I always liked the descriptions of the ingenious homebrew stations used by Indian radio amateurs. This morning I came across VU2LID’s site and found this:

A typical Indian QRP station will use a modified AM broadcast (BC) receiver, for the receiving part. The transmitter will usually have a final RF power amplifier using BD139 (or some power MOSFET like IRF530), driven by a Variable Frequency Oscillator (VFO) and chain of buffer/driver amplifiers (2-3 stage). Most of the stations use Amplitude Modulation (AM). Commonly available medium power Hi-Fi audio amplifier modiles using integrated circuits (like the TBA810), driving a modulation transformer forms the AM modulator part.


The above drawing was done by OM Bhasi, VU2UCY (SK)